Define scripts
Define scripts
In this tutorial we will create a script:
This script will open the doors at the crossing of a camera in a trigger zone:
- First we will open the door model we made earlier.
- Then we will add a trigger zone.
- After we will define the script.
- Finally we will launch the simulation.

Open the door project
To open the project:
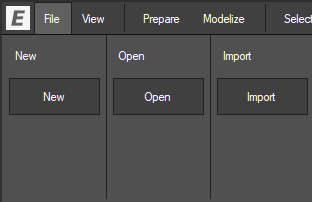
- Access the File menu by clicking on the File menu button.
- Click on the Open button in the Open panel.
- Select the project in the browser.
- Click on Ok.

Add a trigger zone
To create a trigger zone:
- Access the Modelize menu by clicking on the Modelize menu button.
- Click on the Entity button to enable the entity tool.
- Define the entity bounds like a box.

Define the script
To define a script:
- Access the Script menu by clicking on the Script menu button.
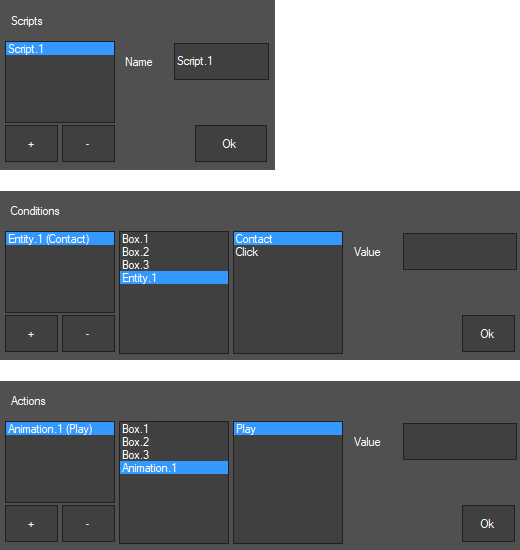
- Click on + in the Scripts panel.
The script is created and it’s title appear in the script panel.
To define a trigger condition:
- Click on + in the Conditions panel.
- Select the entity Entity in the first list.
- Select then Contact in the second list.
- Click on Ok.
To define a triggered action:
- Click on + in the Actions panel.
- Select the animation Animation in the first list.
- Select then Play in the second list.
- Click on Ok.

Launch the simulation
To open the simulation window:
- Click on the Launch in a window button.
To move into the simulation:
- Go forward backward left and right with arrow keys.
To rotate the point of view:
- Press right mouse button
- Keeping the button pressed and and move the mouse.
To stop the simulation :
- Press the Stop button.
Save your project by pressing simultaneously Ctrl + S keys.
